Things To Consider About Audio/Video Control Desks
By: Richard Honeycutt
SynAudCon
Recently I overheard a discussion between a couple of church AV techs about booths and desks. Both seemed uncertain about several issues:
- Is an enclosed booth a good idea?
- If an enclosed booth is used, how big should the opening be for sound to enter?
- How big should the desk be, and what form should it take?
- Is a professionally-designed desk necessary, or is it OK to accept Brother Joe’s offer to build one in his shop?
I have consulted for a number of venues that use enclosed control booths. A representative example would be the Smith Civic Center in Lexington, NC. This was an old movie theater that was renovated in the 1970’s to serve as a combination civic auditorium and meeting space. In addition to keeping the heavily upholstered chairs and extremely absorptive wall treatments that worked well for a cinema, they also decided to convert the projection room—an 8’ deep enclosure covering the whole rear wall—into an audio control room. Also retained were the sliding glass windows that could provide about a 4’ wide opening between the control console and the auditorium.
Predictably, sound operators have found this arrangement difficult for two reasons:
- Trying to mix for a venue when you’re located in a different acoustical space is all but impossible to do well. Even opening the window does not magically transform the control room into the same acoustical space as the audience inhabits. Mixing while listening through a drive-in window just doesn’t cut it!
- Periodically walking out of the control room into the main auditorium does not help much, as it’s simply not possible to hear the effects of adjustments as they are made. Besides, the stairs up the center of the balcony to the control room are many and steep, leading to physical exhaustion fairly early in a performance.
In order to help keep the tech equipment out of sight—a matter of prime concern to some of the Board members—while still improving the situation for the operators, I proposed installing a pair of control-room monitors in the booth. I set these up with equalization to match the measured frequency response in the “best seat in the house”, and also set the levels to match. It being manifestly impossible to recreate the reverb tail of one space in another space, I didn’t even try. Thus intelligibility and naturalness in the house remained a guessing game for the operators. Unsurprisingly, the calibrated EQ and level settings got “readjusted” frequently. I think we have now answered the first two bullet-point issues.
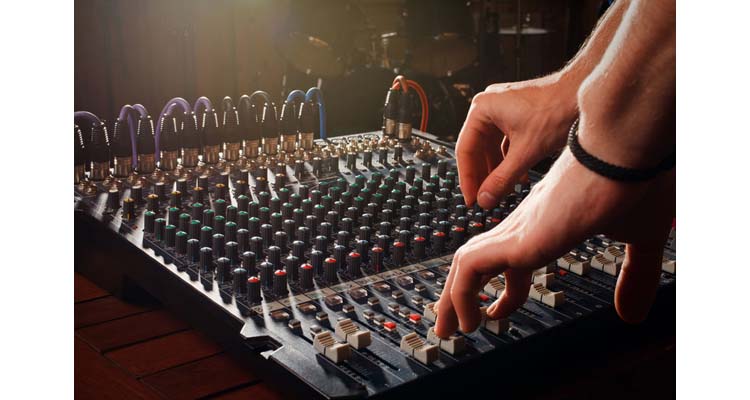
Issue 3 can be summarized by asking, “What equipment needs to be easily seen and adjusted by the operator?” Certainly the mixer, and preferably the wireless mic receivers need to be accessible. Power amps, DSP’s, and other equipment with set-it-and-leave-it-alone controls can be mounted remotely or under the desk. Figure 1 shows a simple table-top desk.
This open-table approach works, but is not the most aesthetically pleasing solution, and provides no security for the equipment (protection from small hands!).
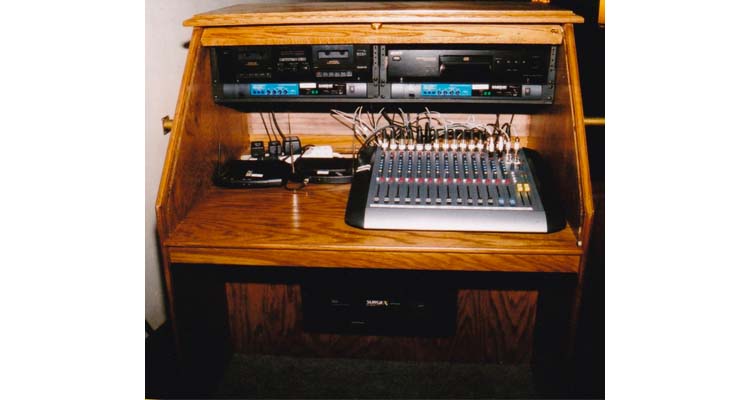
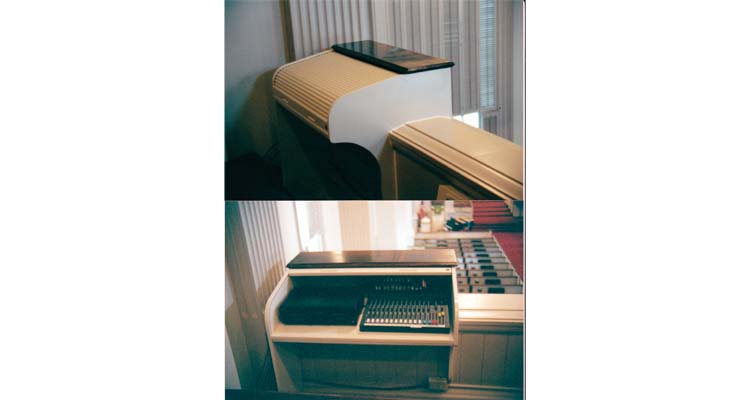
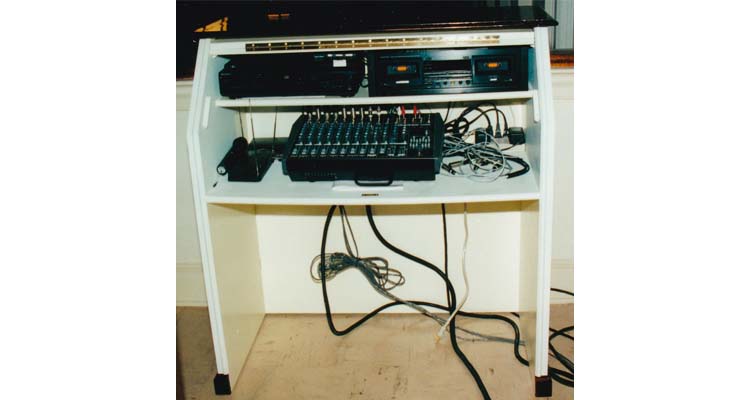
Figures 2, 3, 4, and 5 illustrate both professionally-made and homemade hinged- and roll-top desks.
The above console has adequate desk space for the mixer, wireless mic receivers, an FM hearing assistance transmitter, and CD/cassette playback and recording equipment (Yes, it’s from a few years ago!). The power amps and signal processors are underneath. Not visible in the photo are the back doors that provide rear access to the equipment without the need for un-racking anything. These are an important feature, unless you get your jollies un-racking and re-racking equipment!
The desk in Figure 3 was built onto the balcony face, since the original control location was a closet outside the sanctuary and around the corner. It had a small (< 1 sq. ft.) window that was not open-able and there was no way for the operator to hear the sanctuary sound.
The desk in Figure 4 is simple, yet serves adequately.
The desk in Figure 5 was built by a professional building contractor—not a professional cabinet-maker; certainly not someone with any experience as a sound operator. Certainly the finish is attractive and the roll top is impressive. The first obvious issue is the height of the desk: about 18”, making it very uncomfortable for the operator and too low to work with any normal chair. The less obvious issue is that the bottom space for the power amp is not vented, potentially causing the amp to overheat, shortening its life.
Living, as I do, in the heart of what was once prime furniture-manufacturing country (before we exported that industry to China), I have often had difficulty talking clients into paying the price of a really good console to house their sound and video equipment. However, no client of mine who has gone ahead and bought an excellent console has ever expressed regret. In cases in which the client insists on a home-built unit, it is essential to provide the builder with the dimensions (including the height!) of the mixer and other equipment and a sketch of which equipment needs to be accessible, and to make sure that ventilation is provided for anything that generates much heat. rh
The above article is republished with permission from SynAudCon. SynAudCon provides online audio training for the audio professional. To learn more, visit their website.


