The One Projector Shootout
Let me start this blog by saying that there is never a better way to demonstrate the differences in multiple projectors to a client than to set up each projector in the venue at hand with the correlating screen and actually do a multiple projector shootout. It’s the only way to see how the projectors will fare in the specific lighting conditions of the venue.
Given all this, I want to make a couple clarifications up front. I realize that DLP projectors may perform slightly different than their laser, LCD and LED counterparts. I understand that variations in color wheels can affect color temperatures and accuracy. I understand that certain lens combinations may slightly affect light output.
As, I stated above, I know that there is no better way to demo a given projector than with that actual projector. I also know that given time constraints, projector availability, etc, a multiple projector shootout is not always a viable option. So when it isn’t, how do we demonstrate the differences to a client in a physical way so that they can make better informed decisions?
So without further ado, I give you the Single Projector Shootout.
First let’s set up a scenario. Your client runs AV at a church and wants to install a projection screen for worship music, scripture readings, etc. You look at the distance to the farthest parishioner and it comes out to about 37 feet.
Using sizing rules you get a suggested screen diagonal of about 222″. In a 16:9 format, that screen is 109″ tall by 194″ wide, representing 146 square feet of screen area. You take some light measurements and it seems that you will need about 10,000 lumens to do the job correctly but the current budget will only allow for a 6500 lumen piece of hardware.
What if I told you that you could demonstrate the difference between those two projectors onsite with a 55″ portable projection screen and a 300 lumen pico projector to show them why it makes sense to increase budget?
Sounds crazy right? But you can actually get fairly close.
Here is the key metric- lumens per foot. A 6500 lumen projector on a 200″ screen is not as bright as it is on a 100″ screen. The lumens have to be divided by the screen area to get a true indicator of how bright the screen will be.
A 6500 lumen projector on a 146 sq ft screen is 44 lumens per sq ft. A 10,000 lumen projector gets us closer to 70 lumens per foot on that same screen.
You can explain to the client why you are suggesting a higher output projector, but many times the higher cost becomes a sticking point. Showing them the math is all fine, but showing them the image is much more powerful.
Here is one of my kits (I have a second version as well with a larger screen and higher output projector).

It includes a 55″ diagonal fold-able frame, 2- 55″ screen surfaces (A standard 1.0 gain and a 0.6 gain for higher contrast), a tripod, a Dell 300 lumen Pico projector, and my laptop.
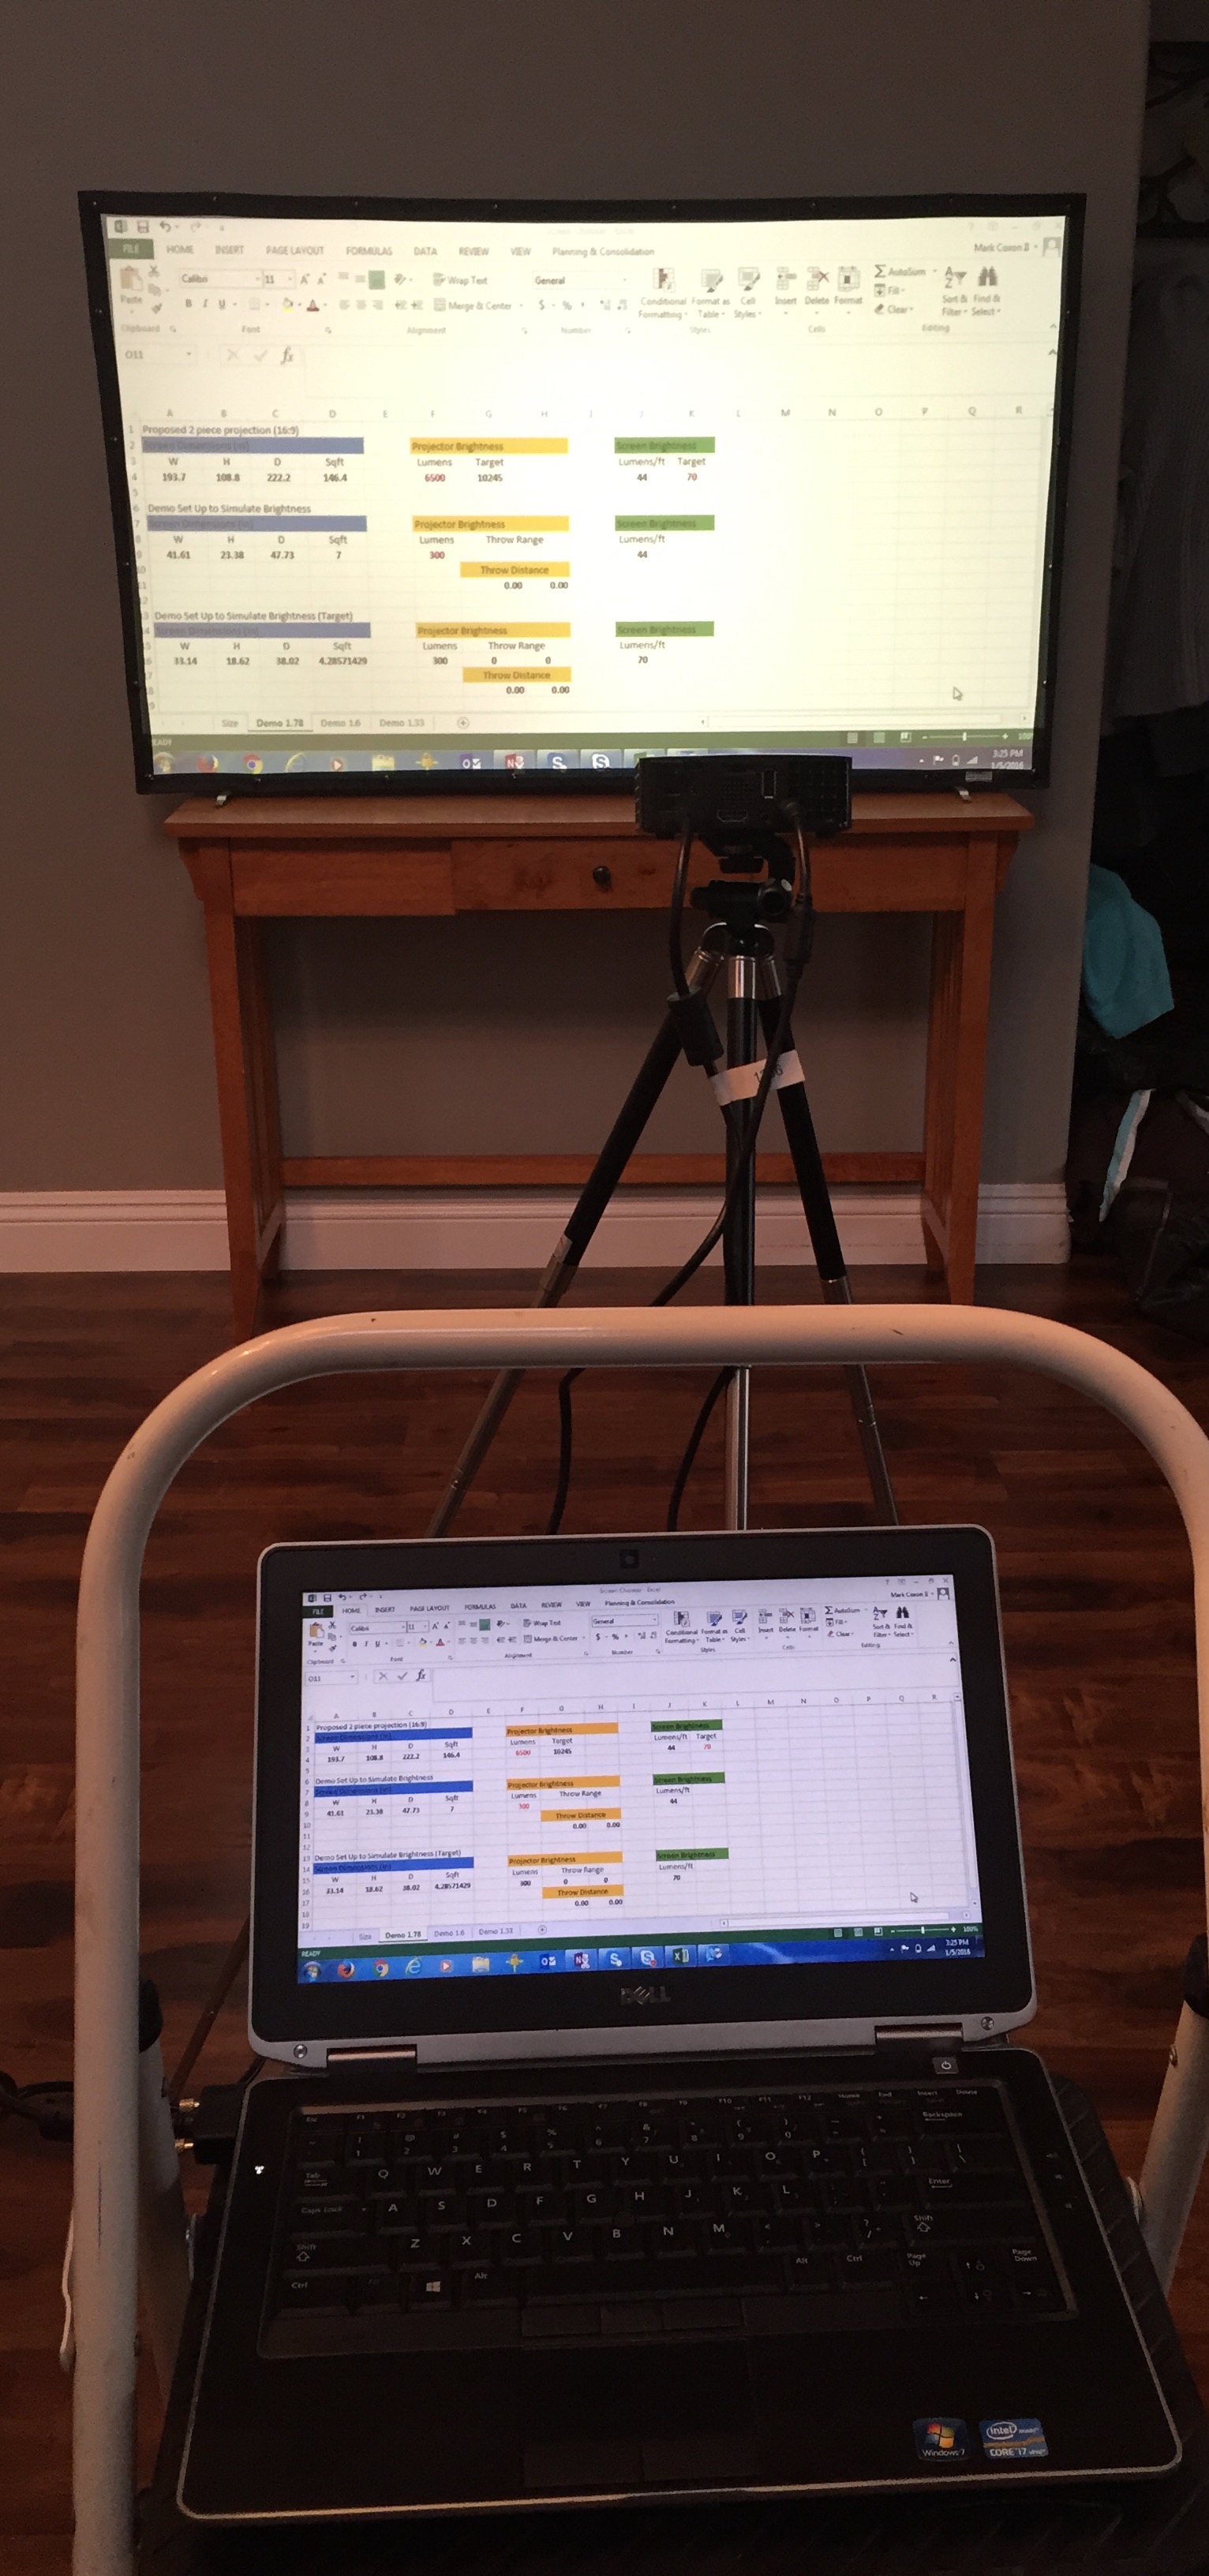
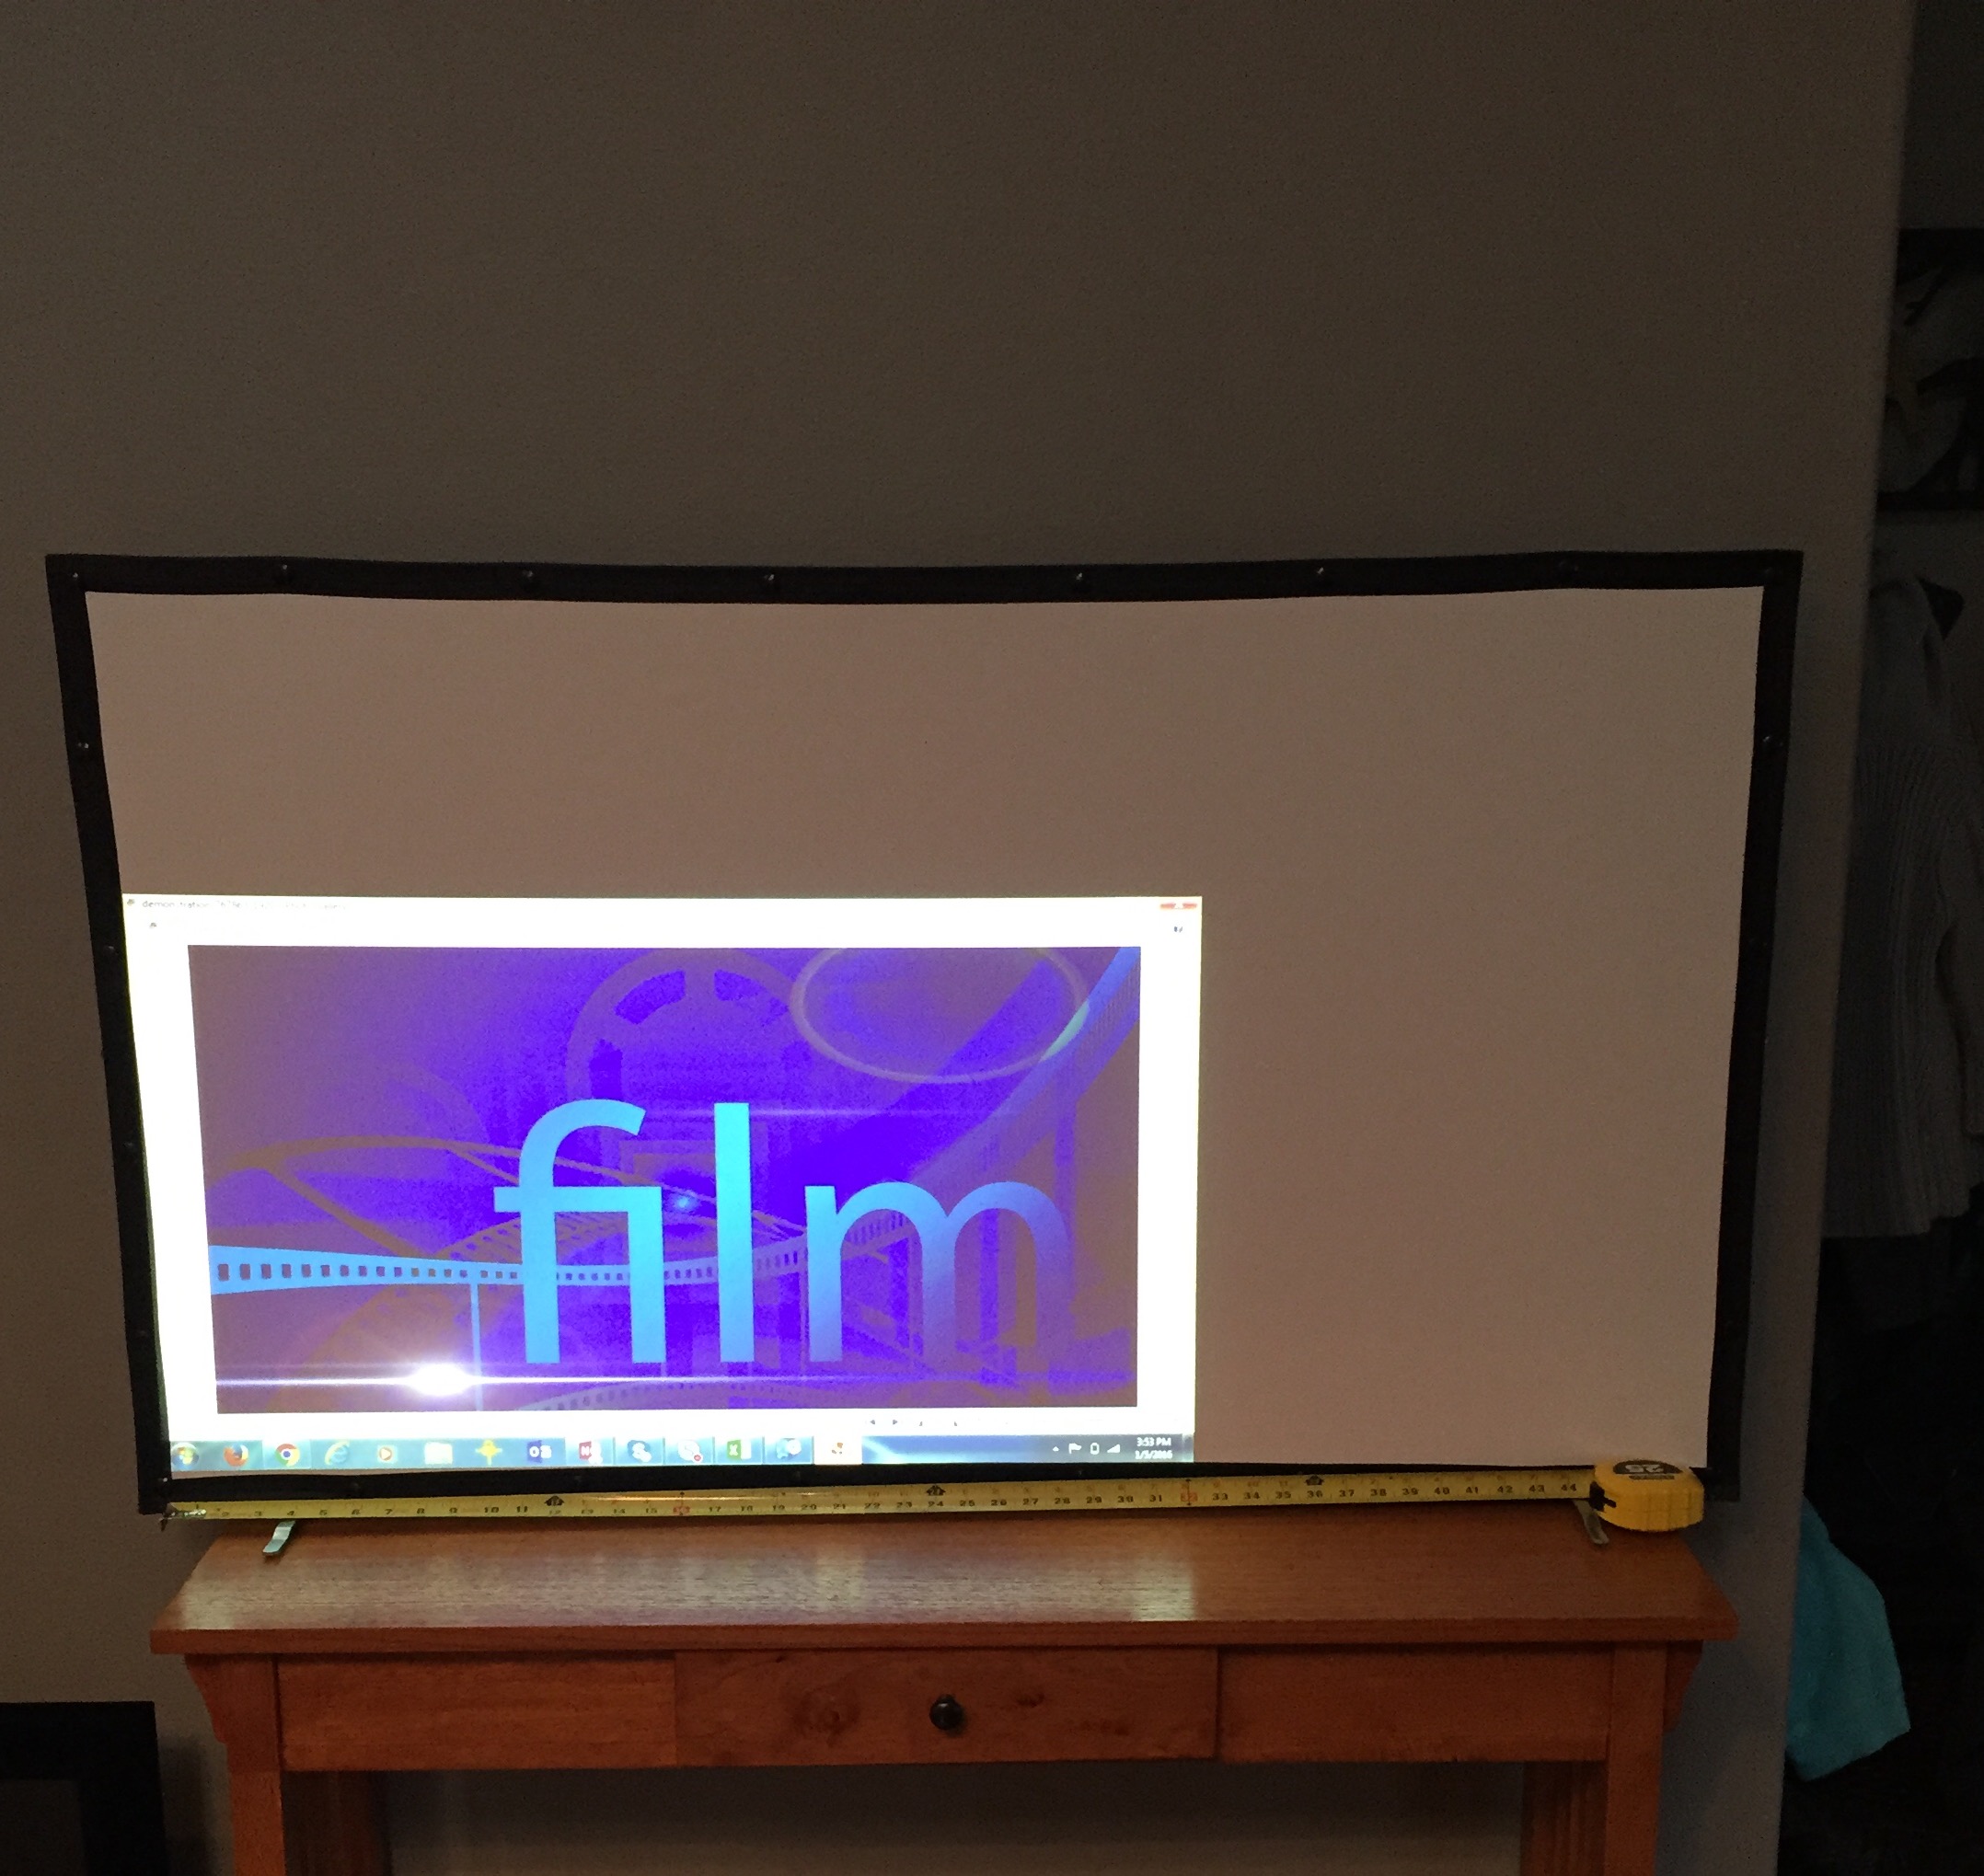
All of this easily fits in a tote bag and can be taken to site. Add in a trusty step stool as a laptop stand, and the onsite set-up looks something like this.
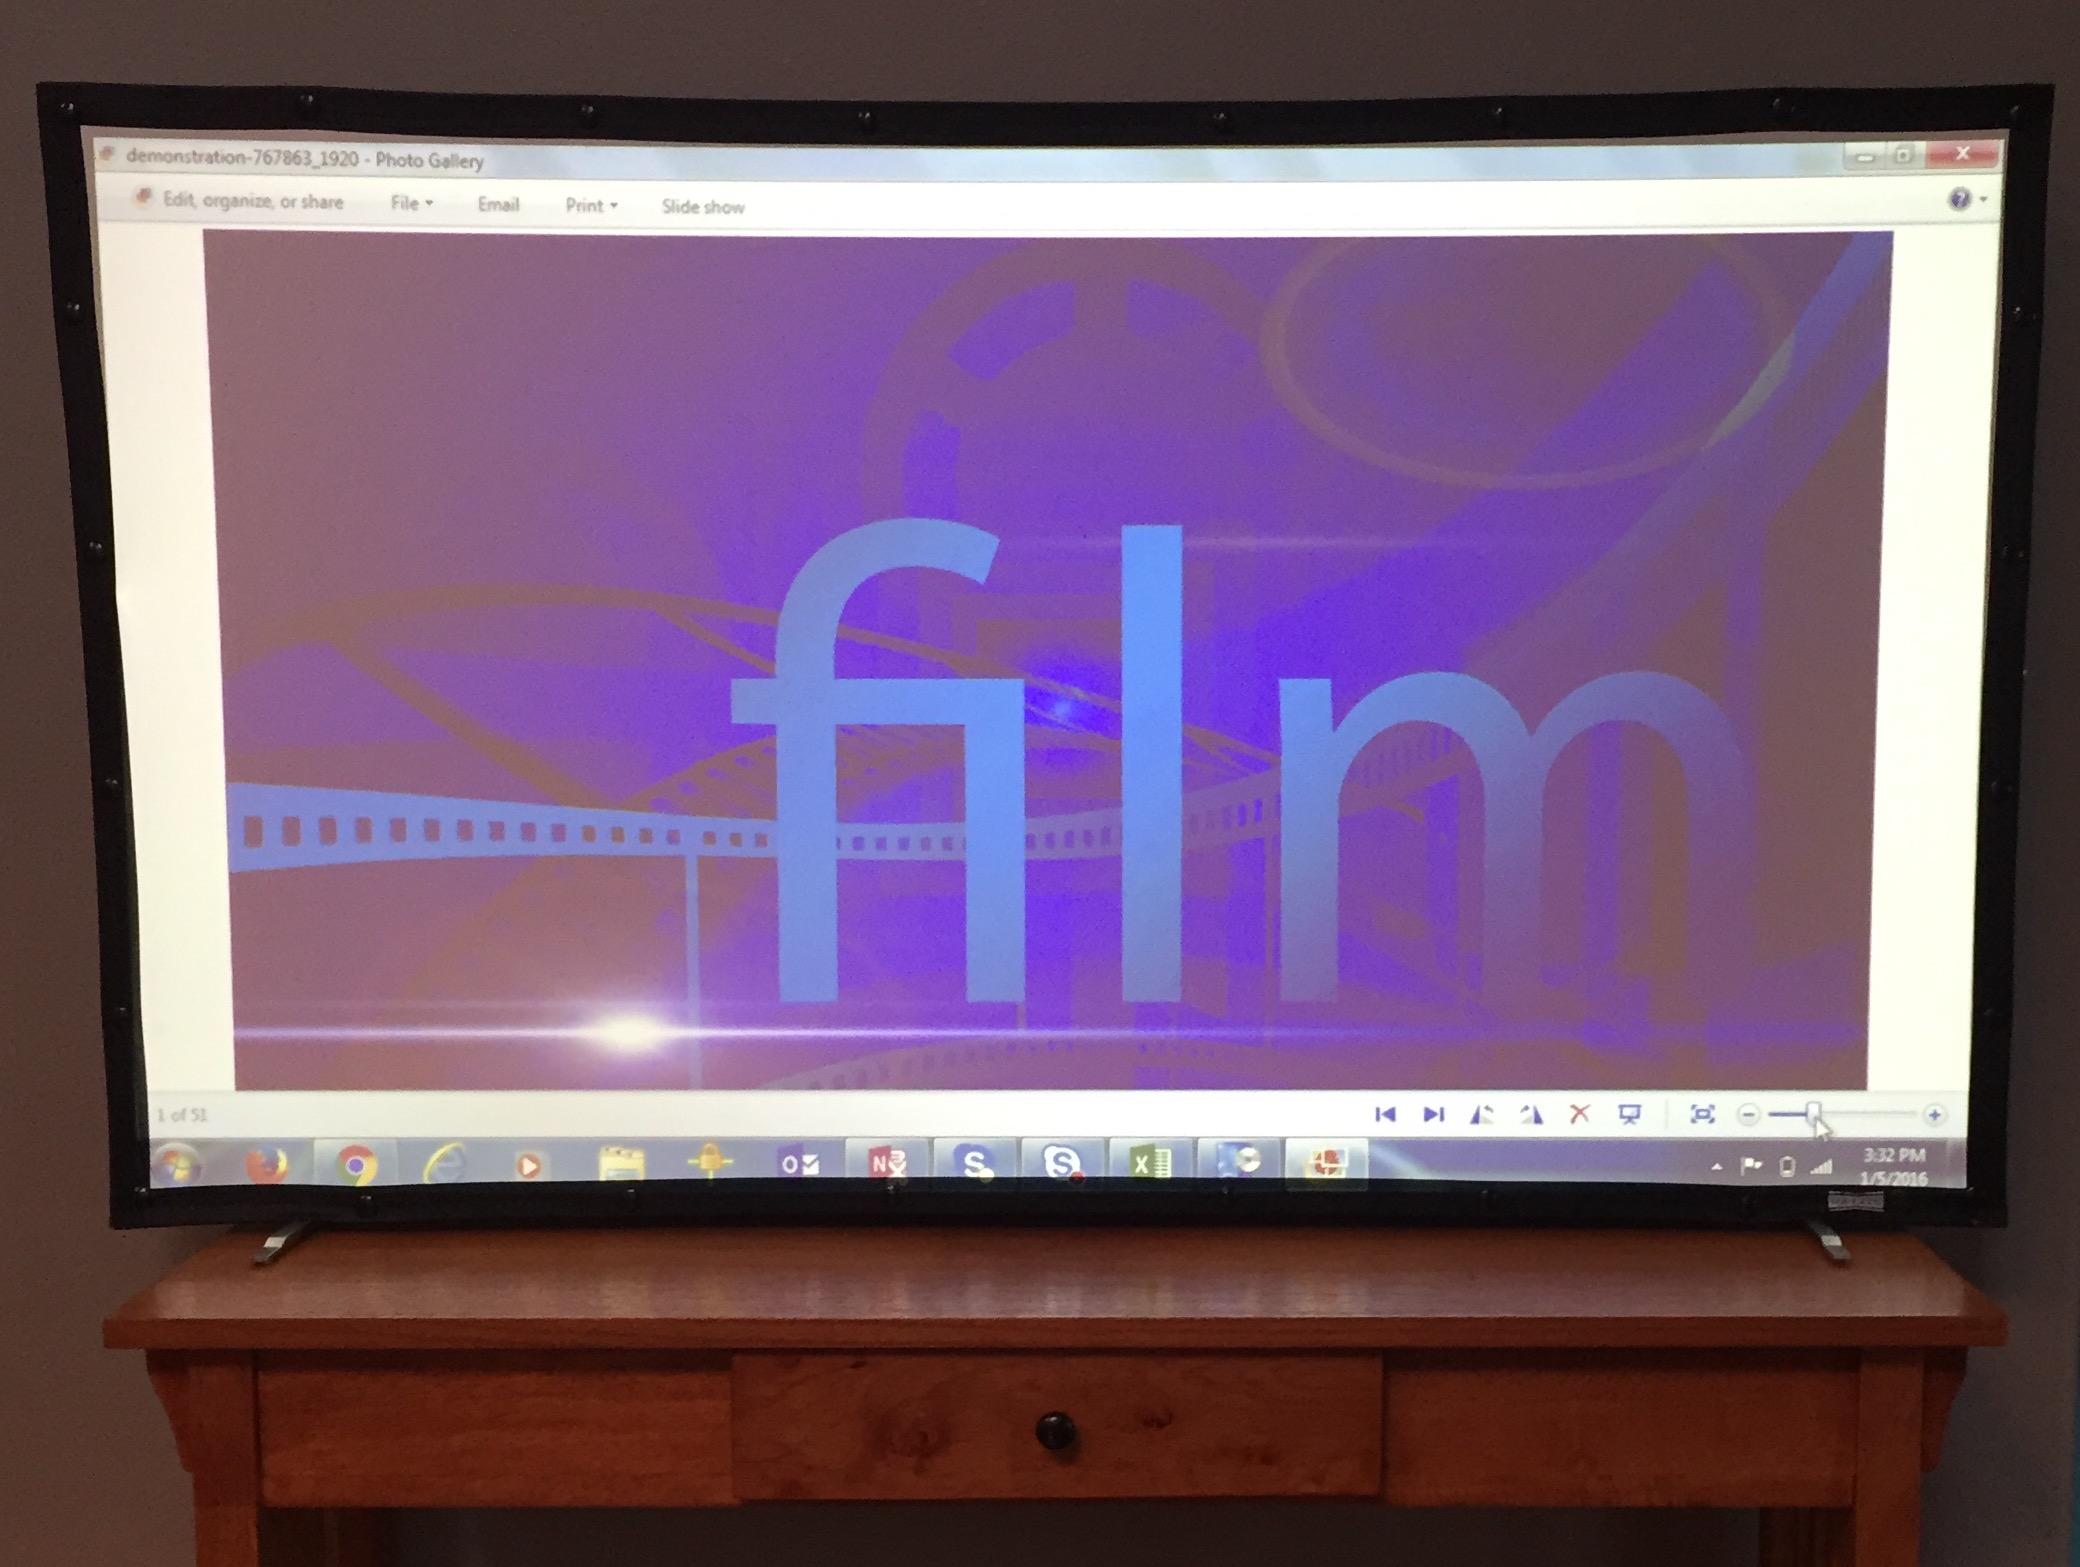
Now the 55″ 16:9 screen is effectively 9 square feet. So when I fill the screen as you see above, it represents 33 lumens per square foot. As you can see from the two images below,with a couple windows open and the lights on, it is fairly washed out.

Doing the math backwards, you can quickly show the client that this 33 lumens per foot on their 222″ diagonal (146 sq ft) screen means a 5000 lumen projector would net about the same result.
Now comes the fun part, at least for geeks like me.
It’s time to demonstrate how bright a 6500 lumen projector would be in this space using this same 300 lumen projector. Here is where my handy dandy excel calculator comes in.

As you can see, line 4 details the proposed final screen size. 194″ by 109″ to net a 222″ diagonal or 146 sq feet of surface. I input 6500 lumens as my projector brightness (red). That relates to 44 lumens per foot.
If you look at line 6, it describes how we arrange the demo setup to get 44 lumens per foot, effectively showing how bright a 6500 lumen projector will be in the space.
I input my demo projector’s brightness of 300 lumens (red) and like magic, line 9 of the spread sheet tells me I need to project 300 lumens over 7 square feet to achieve 44 lumens per foot. It also tells me the dimensions of that screen in a 16:9 aspect ratio, being 41.6″ wide by 23.4″ tall.
So what do I do with this info?
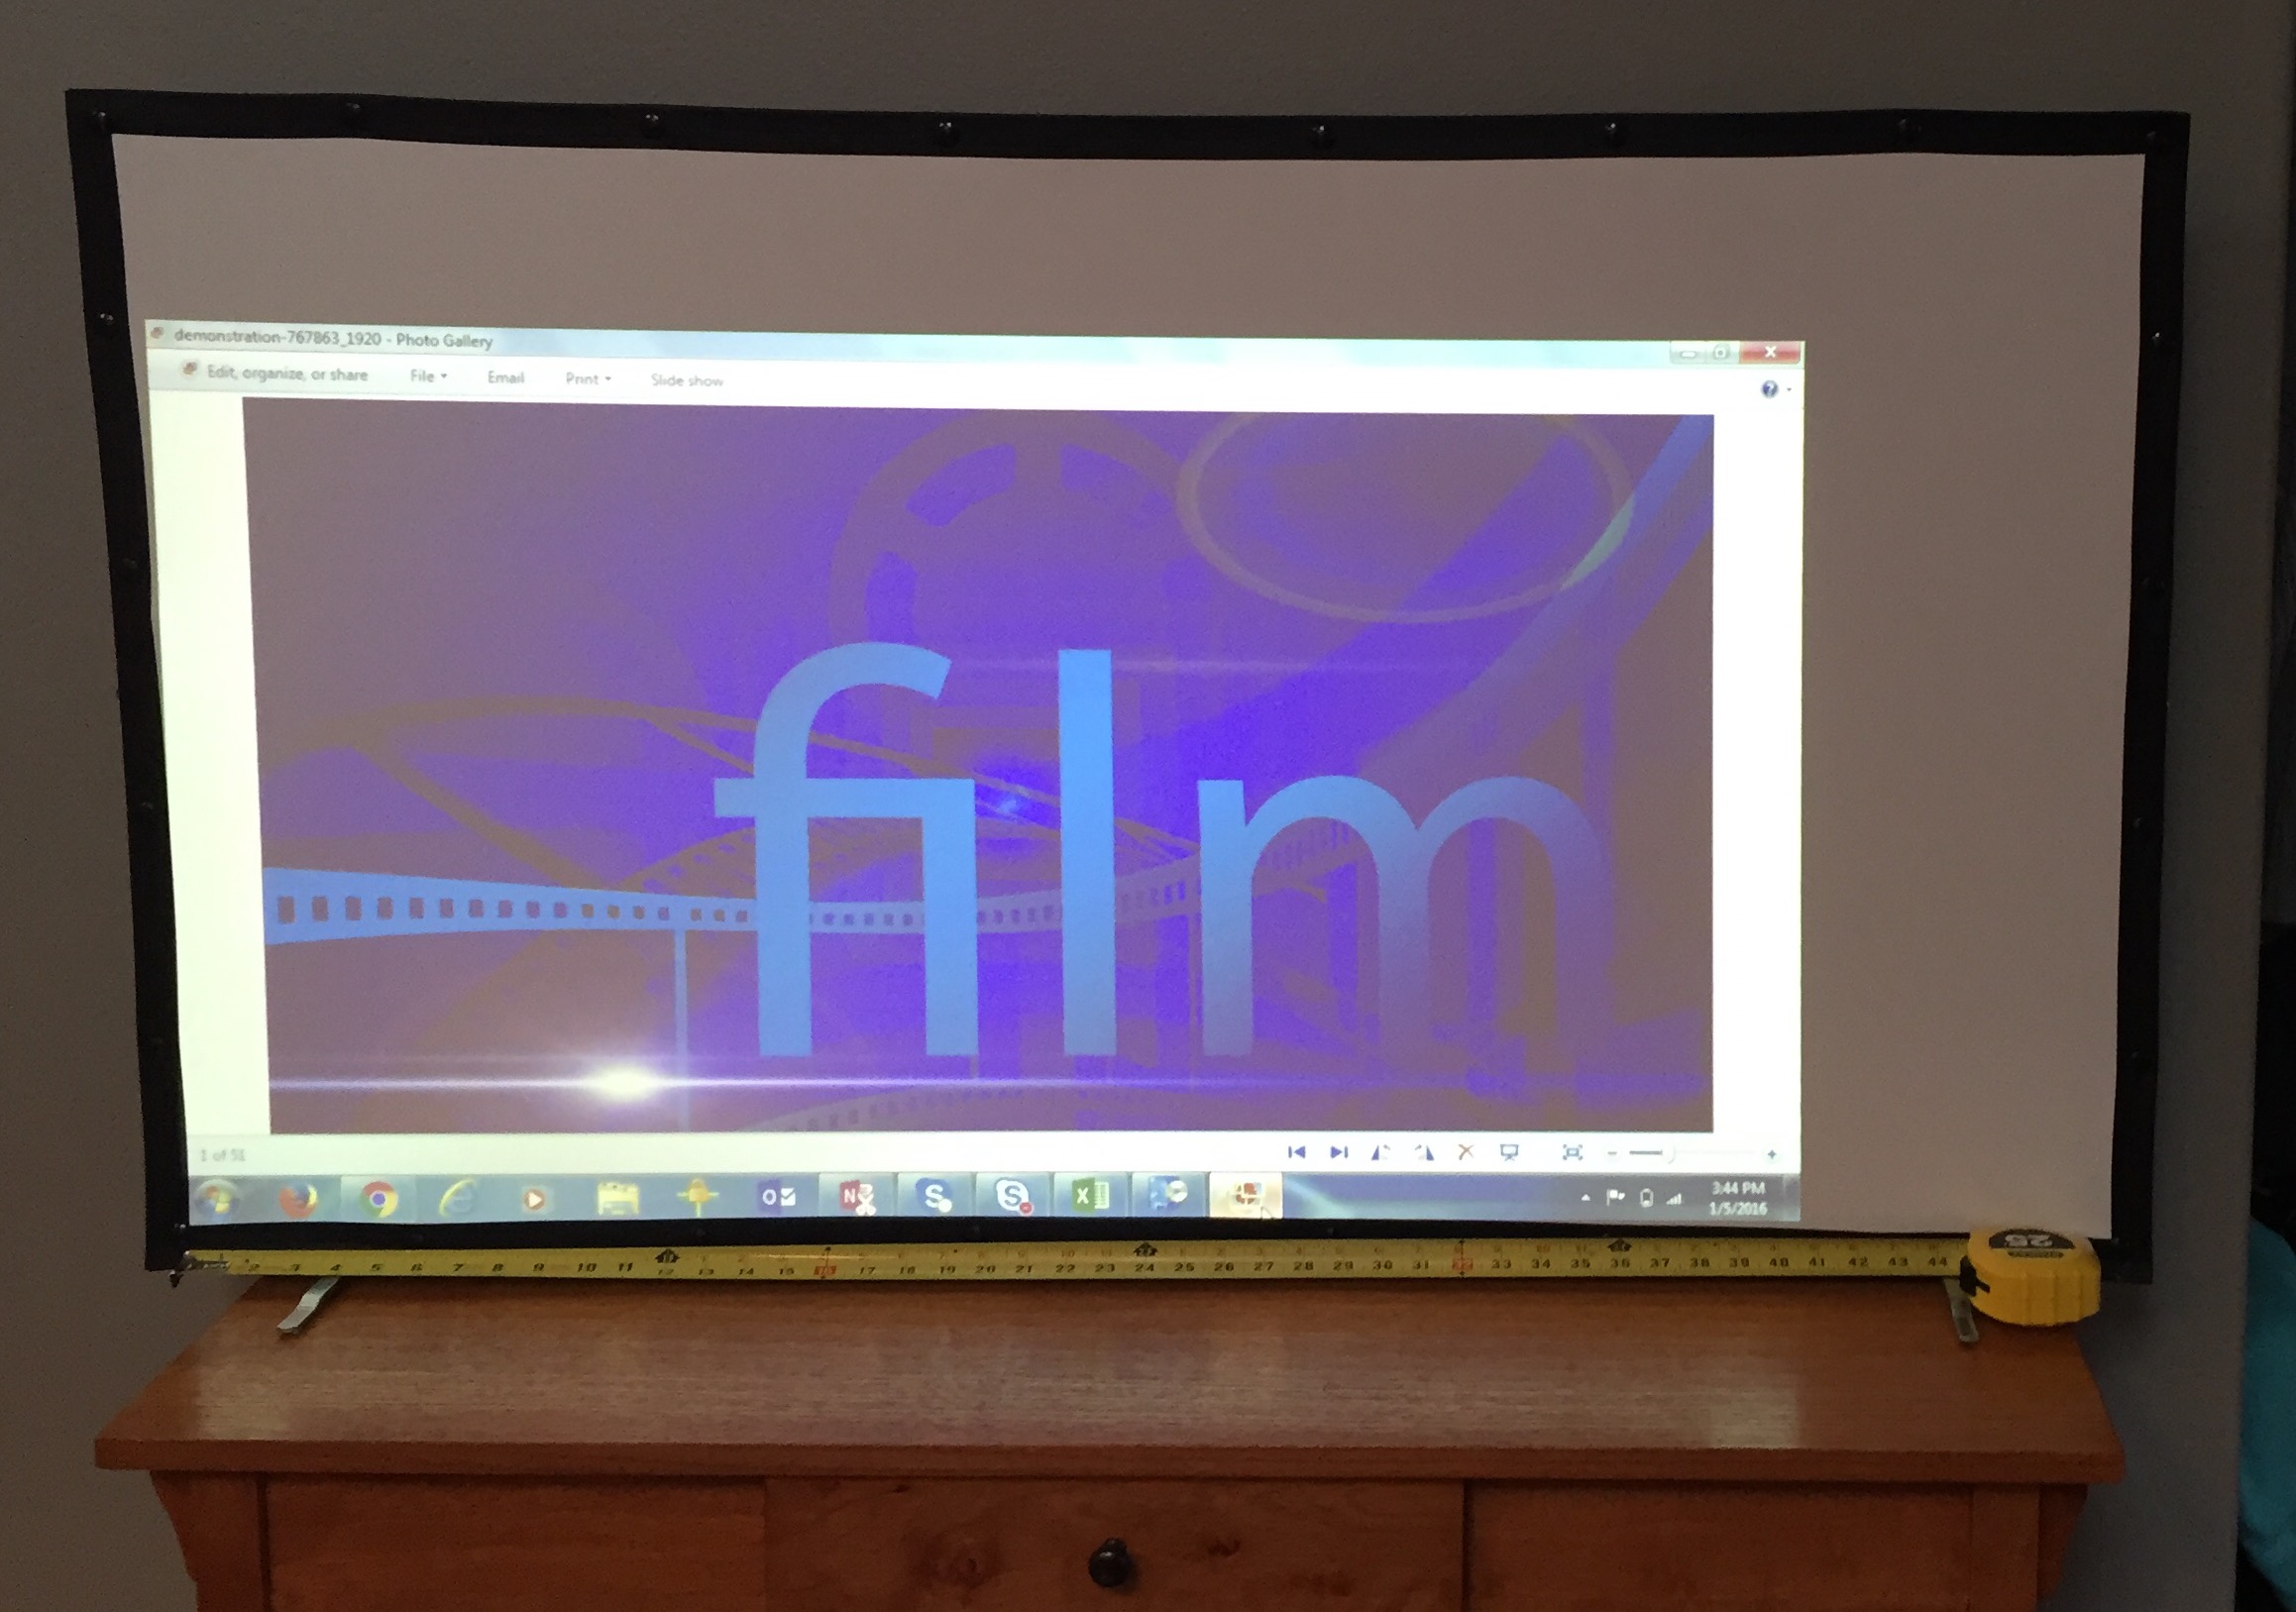
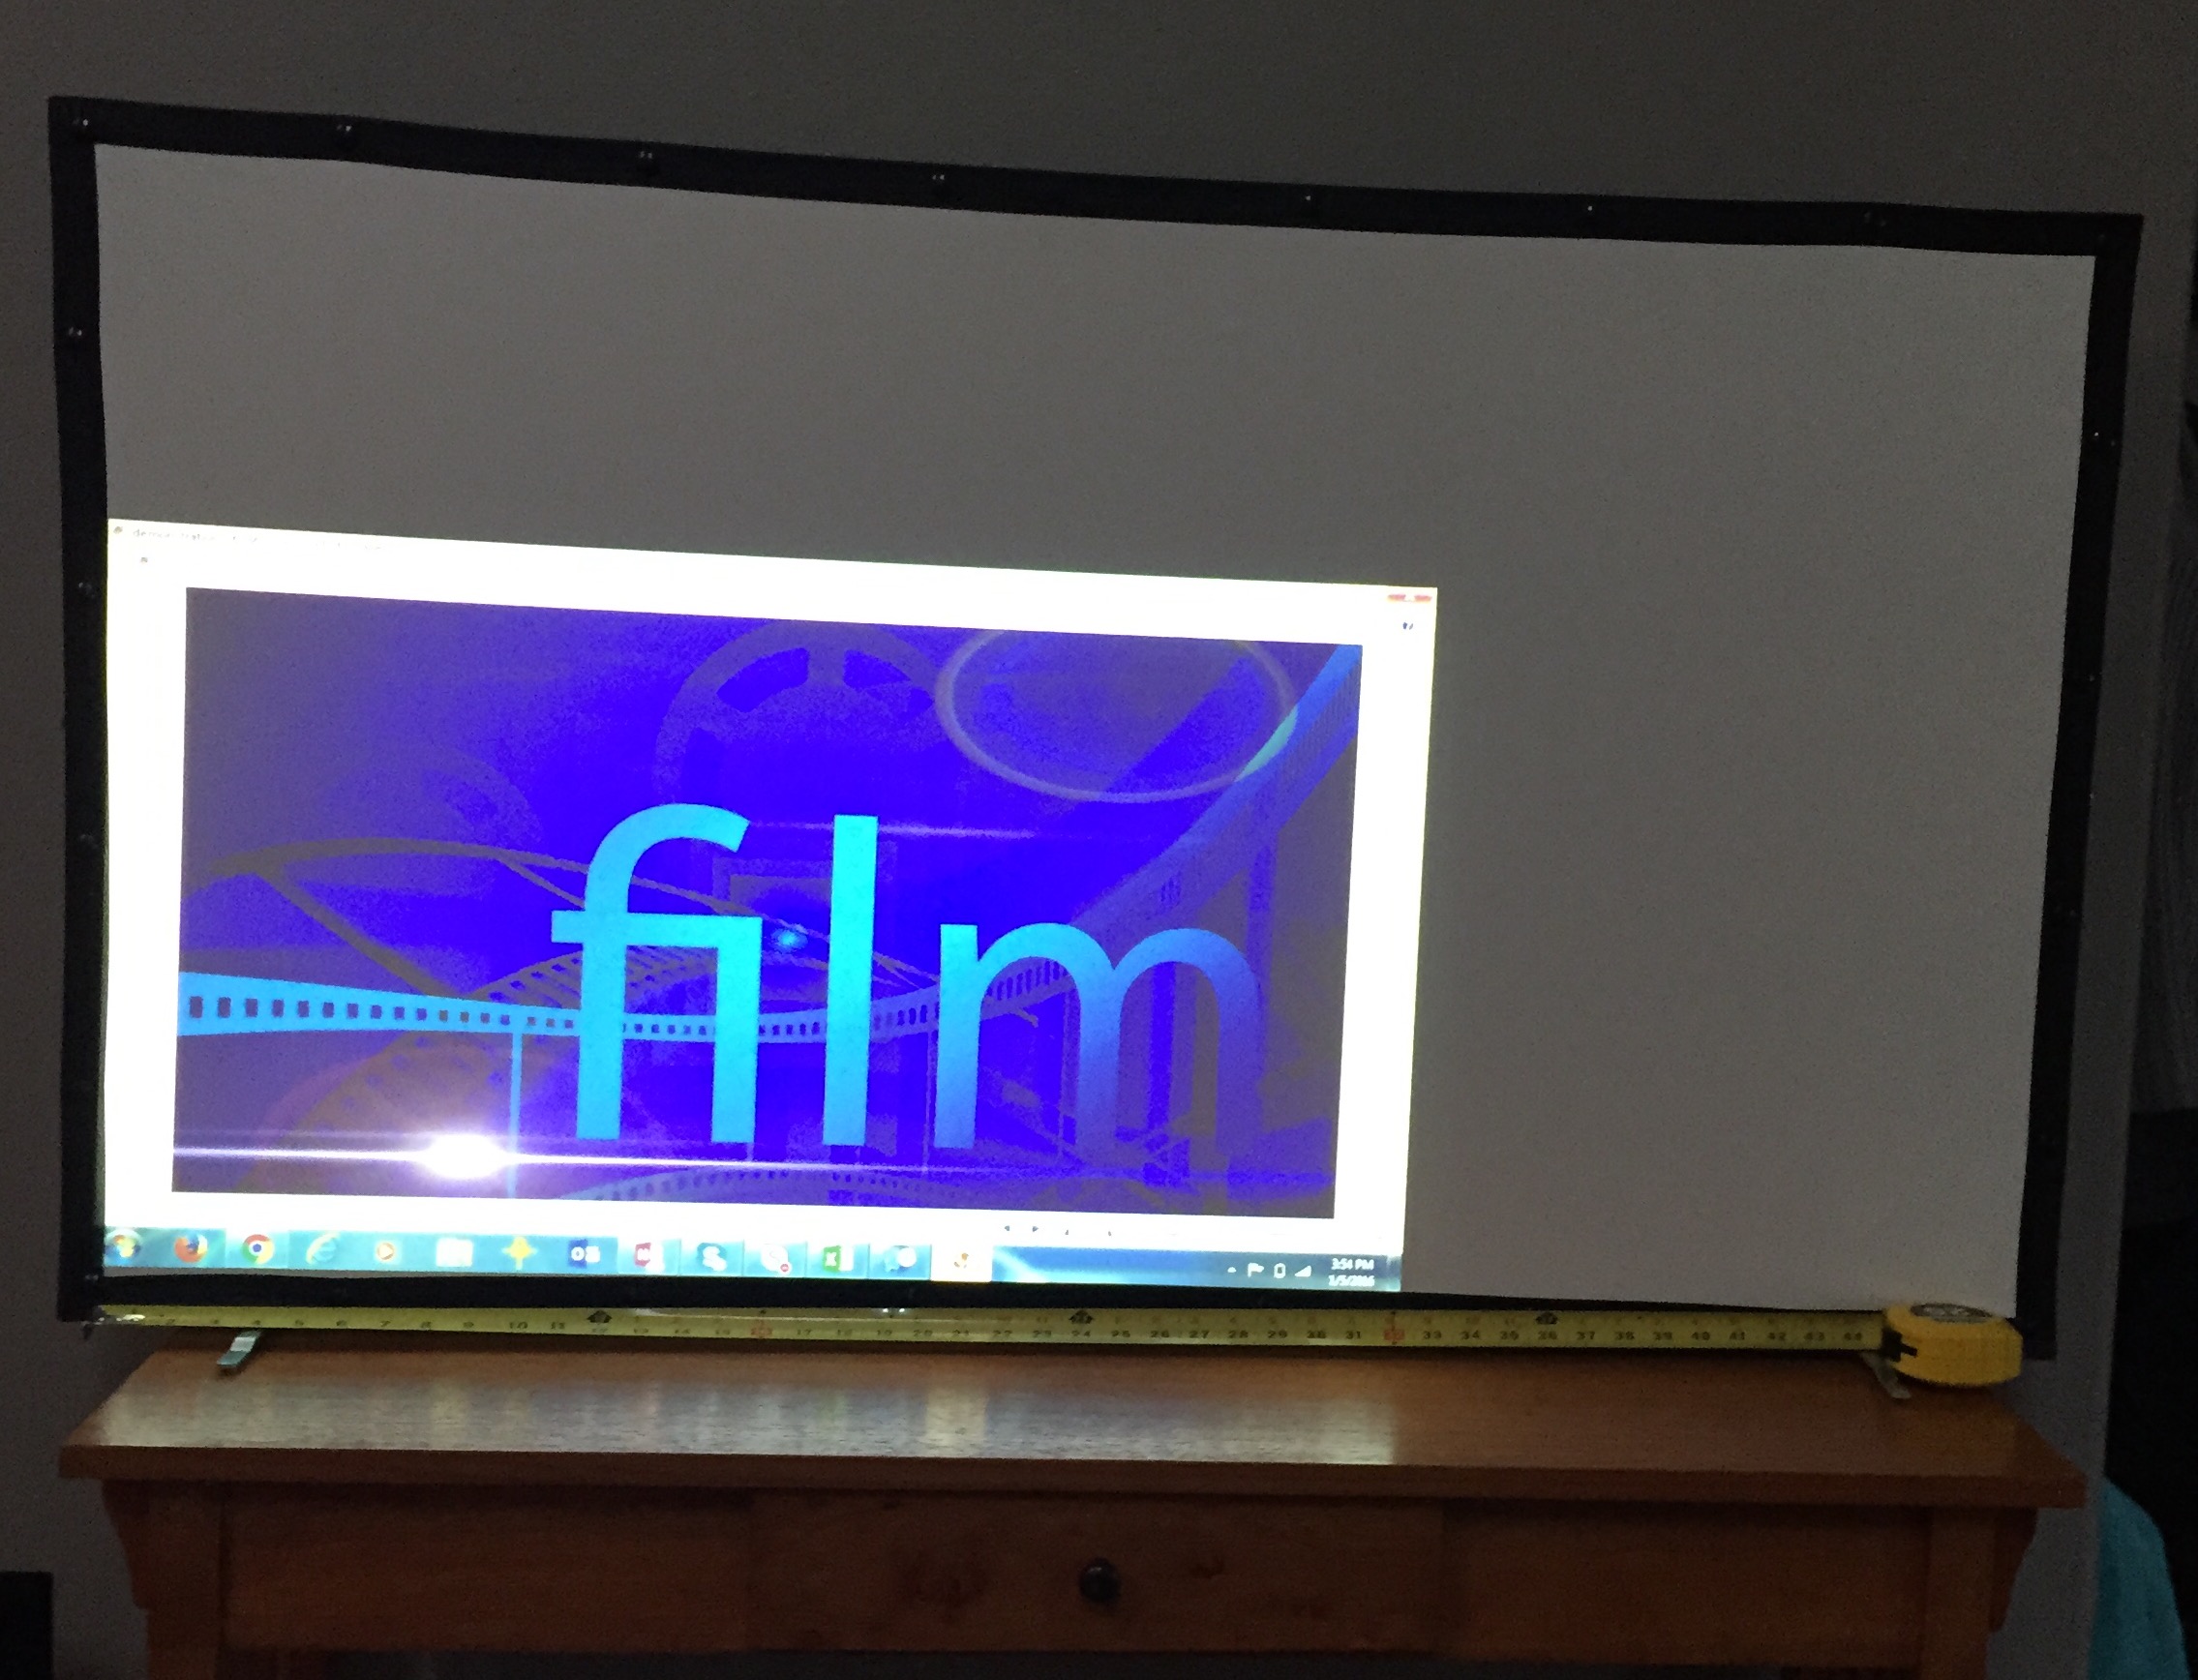
I go to my screen, and layout my tape to show where 41.6 inches is. Then I move my projector setup forward toward the screen until the new image is 41.6″ wide. Given the aspect ratio of the projector is locked, I don’t need to measure height. My new image reflects 44 lumens per foot.
You’ll see from the images below this is a slight but not dramatic improvement from the original 33 lumens per foot above.

Based on the initial calculations based on screen size and light in the room, it was estimated that 70 lumens per foot would be needed, resulting in the recommendation of a 10,000 lumen projector.
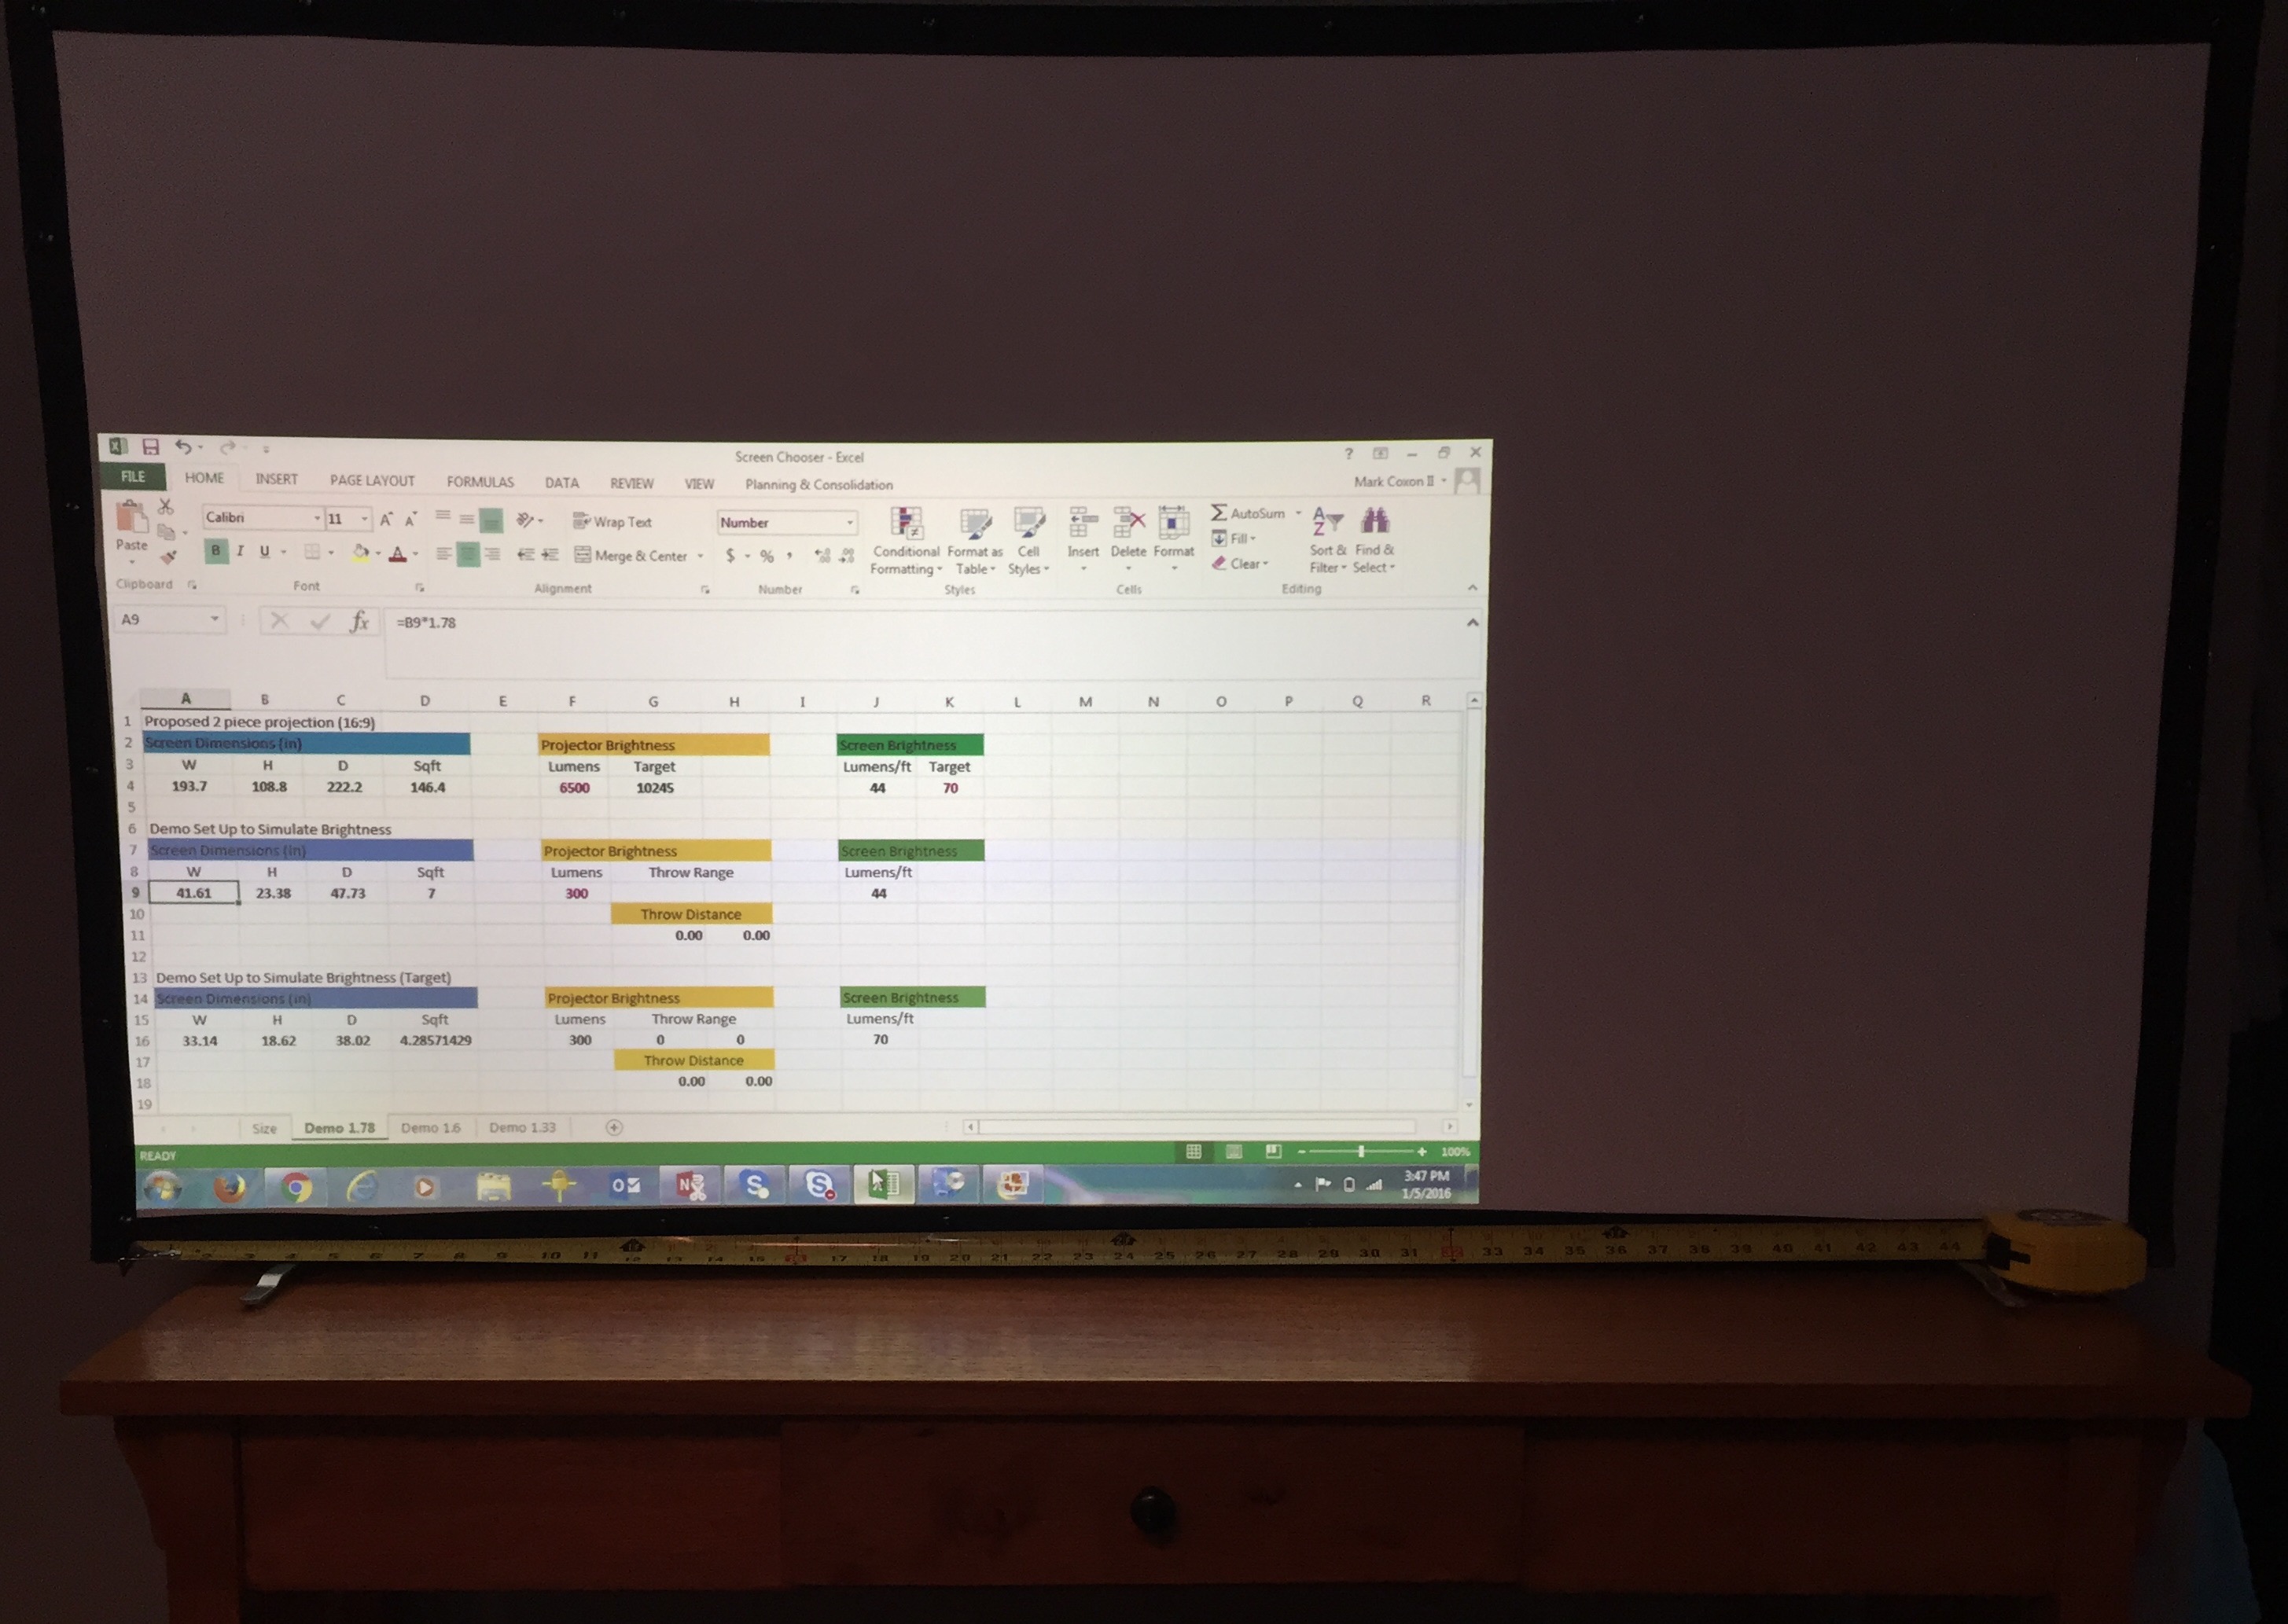
Based on that I can enter 70 as the target brightness in the spreadsheet in Column K, Row 4 (red).
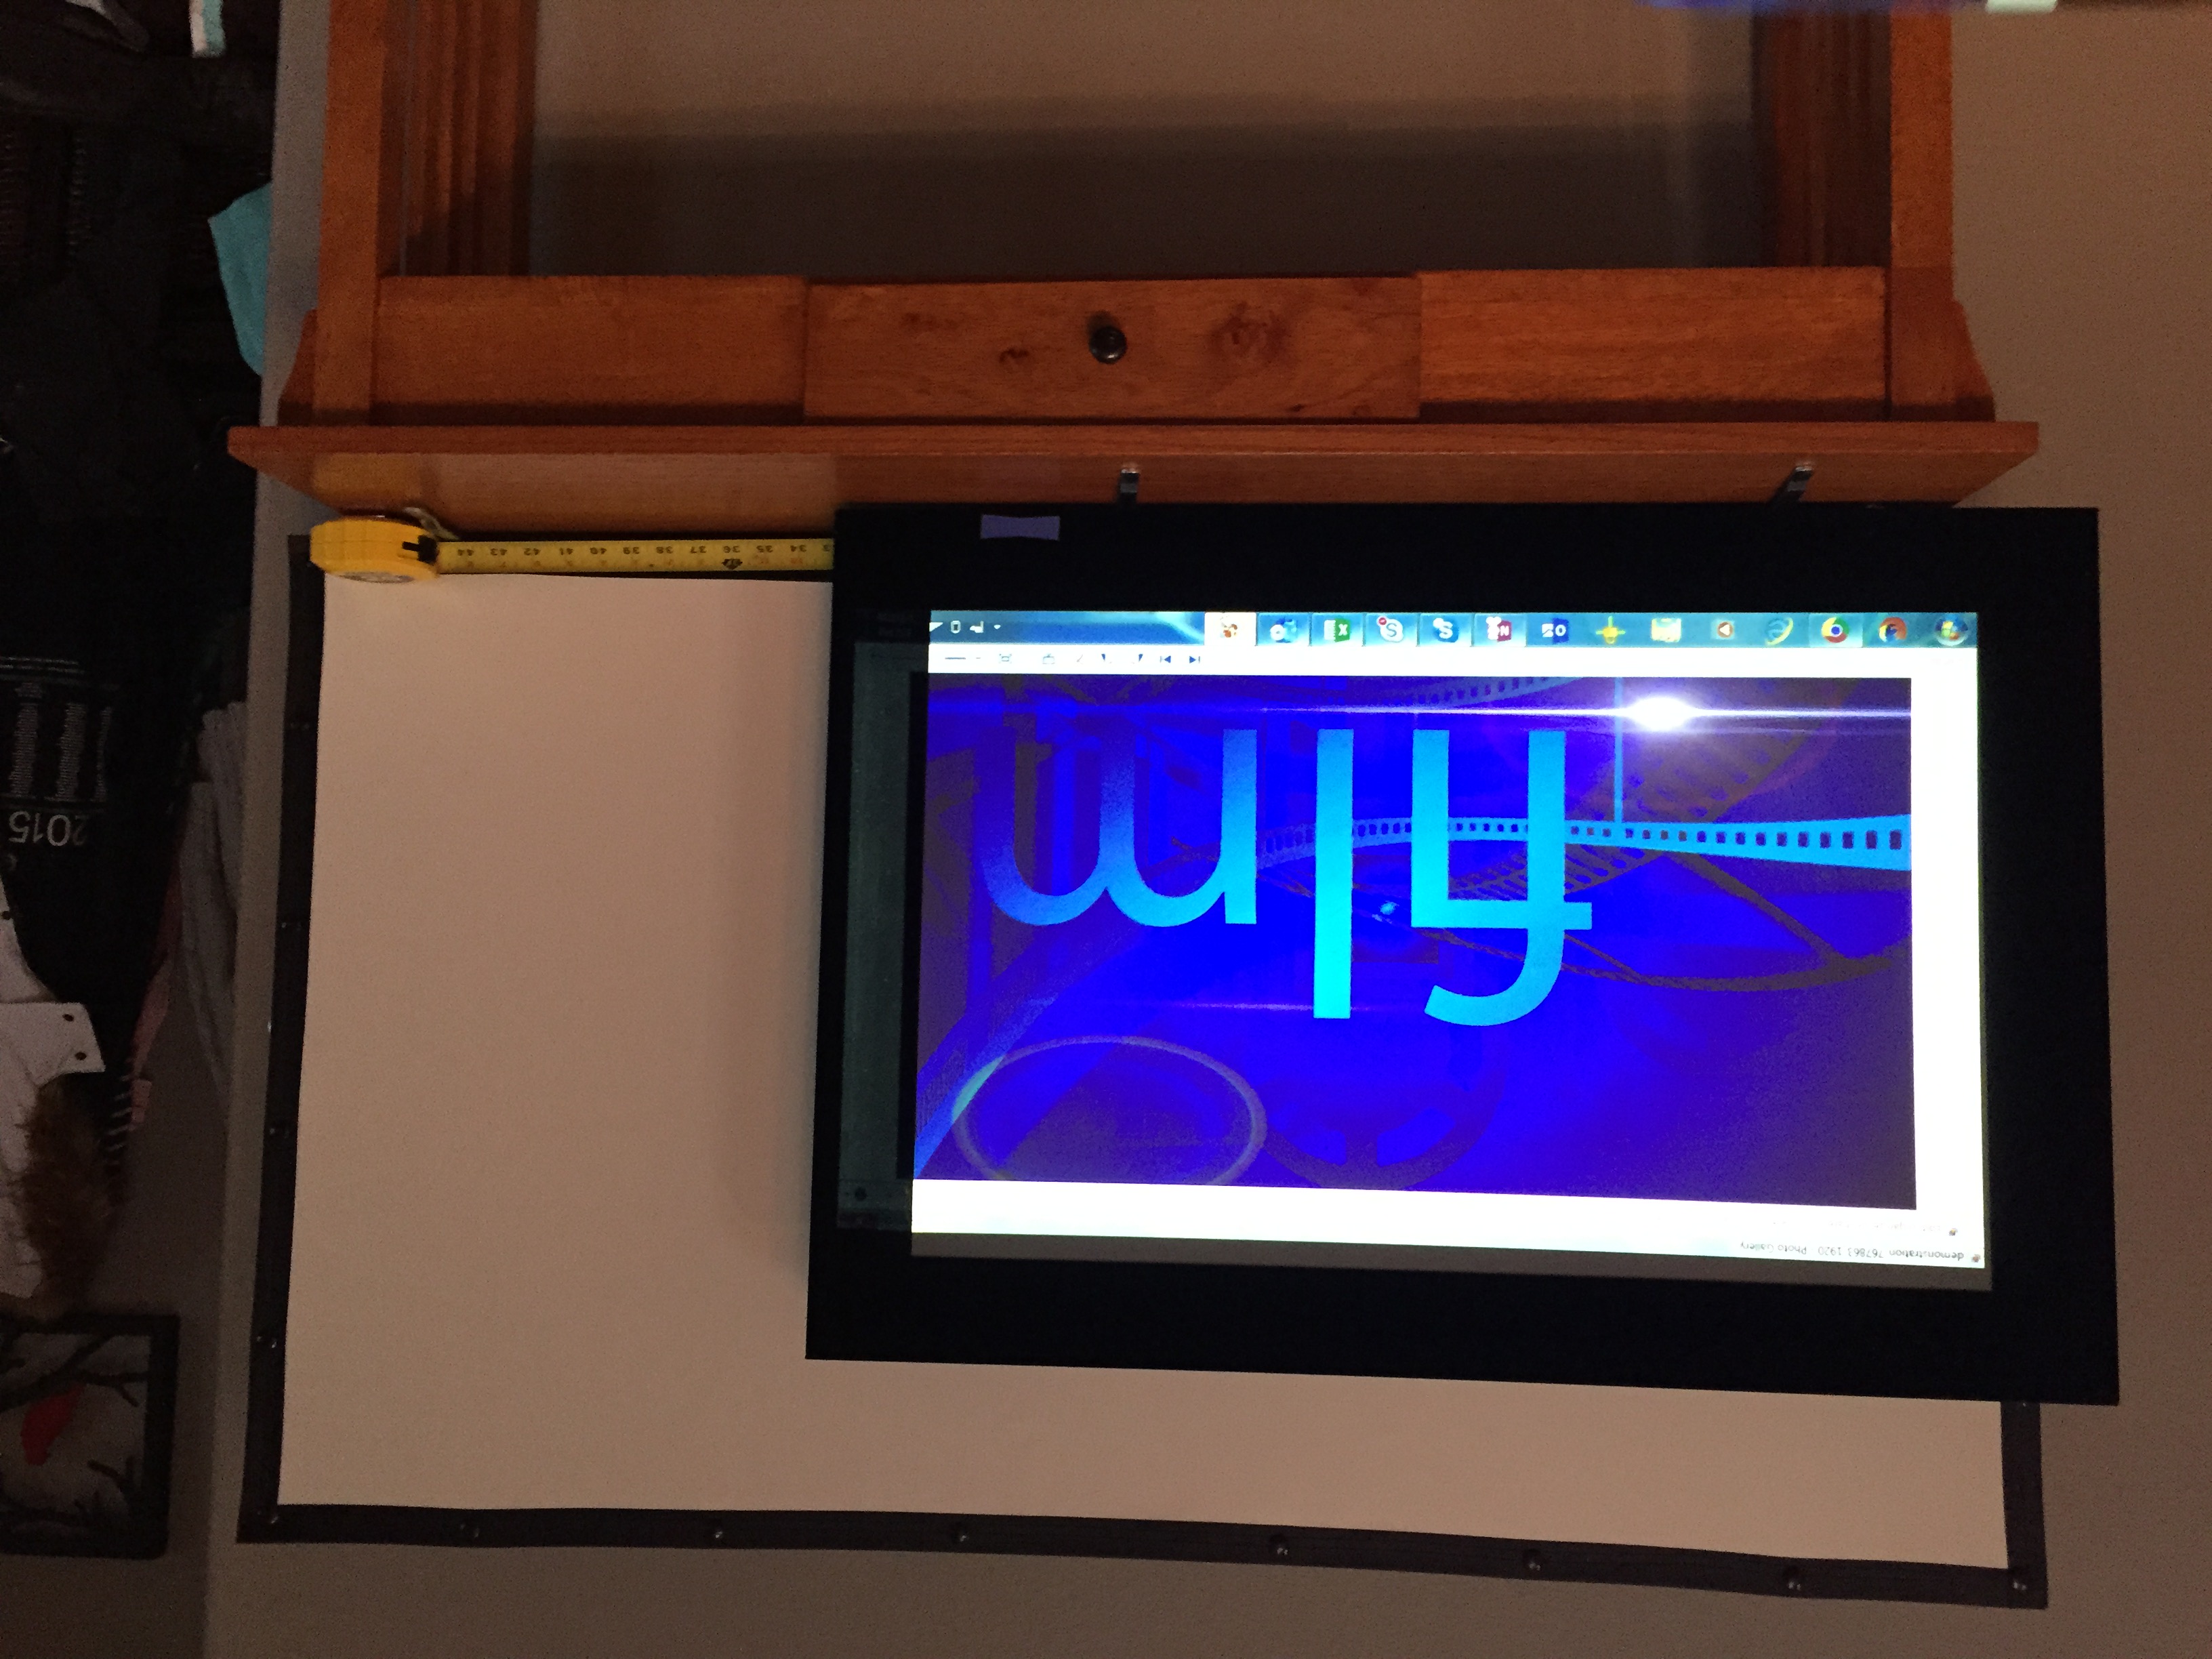
You’ll see now if you look in Row 16, the spreadsheet has again magically related that a 4.3 square foot screen is needed to demonstrate 70 lumens per foot with a 300 lumen projector. It of course also gives the dimensions of the screen, being 33 inches wide by 18.6″ tall.
I can now move my projection setup forward again, to create an image that is 33 inches wide, effectively showing what 10,000 lumens will be like divided across the final 222″ diagonal screen. As you will see below, the differences start to become apparent.
Now of course this allows you to show all the potential options given the lights being on. You can also at this point cycle the lights to show what that may do to the image, like the one below.
Or if the lights all need to stay on, and the image is not getting the desired contrast, you could leave the lights on and show another material as well, like the ambient light rejection material seen below.
I’ll end as I started. Nothing beats a multiple projector shootout. There is no replacement for having the actual projector with the appropriate sized screen in the venue where it will be installed.
However, when that’s not an option and you want to better communicate the differences in brightness in a hands on way, the single projector shootout can help assure that the projector isn’t value engineered down to a lower brightness, and then the end user is unhappy later when it’s not what they envisioned.
Setting proper expectations means better customer satisfaction, and this is a quick and easy way to start that process.
They say it takes two to Tango, but now you can do it with one.

More Stories Like This
Kayye’s Krystal Ball: 2024 Edition

Welcome to my 24th annual Kayye’s Krystal Ball! It’s been an honor to have written this for 24 straight years and even more of an honor for it to have so many thousands of readers annually — it’s almost always our most-read article of the year on rAVe [PUBS]. So, if you’re reading this right […]
Flat Panel and Front Projection Markets Stall Amidst Recession Fears
By Sean Bradley and Freddie Mossop Futuresource Consulting The flat panel and front projection markets continue to battle a string of challenges, as Q1 of 2023 saw substantial declines in volume and value across both markets. The worldwide flat panel market volume saw losses at -8% YoY, with value dipping by -19%. For front projection, […]
5 Factors for Considering a New Projector
By Brian Rhatigan Exertis Almo When it comes to producing large displayed images of 100” or more, projection technology is the front-runner when it comes to cost, ease of installation and system maintenance over time. While projector brightness is a key consideration, it is not the only factor you should look at when selecting a […]