3 Often Overlooked AV Design Considerations
In a world of highly repeatable, commoditized solutions, the art of good design can definitely get lost.
In the current market, we see a lot of products being kitted together and marketed based on the size of the room. A small room kit, a medium room kit, a large room kit, etc. In other cases, service providers design something once in a way that they can sell it multiple times without modifications, but not without compromise.
With all this in mind, I wanted to highlight three design considerations you may think about, beyond room size, that may just help take your systems to the next level.
Vertical FOV
This isn’t a spec a lot of people think about when looking at cameras for videoconferencing, but it’s definitely a spec that, when considered, can greatly enhance the user experience during a call. Most cameras prominently feature their horizontal field of view, as in many smaller rooms, tables may be pushed up against the wall, with seating that requires 160-180 degree horizontal FOV to pick up all of the meeting participants. The camera is then placed below the display to facilitate good eye contact, and all is seemingly well until someone stands up or an additional participant comes into the room and stands against the wall. All of a sudden you’re having a meeting with Ichabod Crane.
Knowing the vertical FOV can help assist with better camera placement, and if you have meetings where people often stand, you may even consider bar height seating to help minimize the vertical distance between seated and standing participants.
Speaker Placement/Overlap
Speakers have coverage patterns, and those coverage patterns are important. However, to save on cost, many times the coverage patterns are aligned “edge to edge” to get minimum viable coverage in the room. This means that there are some areas where the sound pressure level (SPL) is lower, and in order to get enough sound in those areas, the audio system has to be turned up. This results in hot and cold spots, with some attendees being blasted while others may struggle to hear.
If that isn’t bad enough, increasing the SPL also has the unintended consequence of increasing reflections in the room, and in our modern, minimalist spaces with glass walls and little acoustic treatment, that means lower intelligibility, even at higher volumes.
Finally, when doing coverage patterns, many forget to account for a listening height of 4.5 feet above the floor. If you use the ceiling height to calculate coverage patterns all the way to the floor, you’ll undercalculate what is needed.
The general rule of thumb to combat this spiral of decreasing audio quality is fairly simple. More speakers, closer to the ears, at lower volumes. Adding speakers to create a “center-to-center” coverage pattern is a good first step. If you have 12-foot ceilings, use pendants to drop the speakers down to 8 feet and minimize the 6db loss rule. (If you don’t know it, Google it).
More speakers. Closer to the ears. Less volume. Maximize overlap, increase intelligibility, minimize reflective energy.
If you’d like a cool overview of EASE modeling for commercial audio, check out this video by Sonance here:
Microphone Coverage Patterns
Unlike speakers, where the dispersion pattern is conical extending from the edges of the speakers and extending downward at the described angle, microphone coverage patterns do not work the same way.
Now if you’re from a live sound or house-of-worship background, I’m sure you’re intimately familiar with this concept, but for people like me, who come from a more video-heavy background, you may have to remind yourself how important this fact is.
Microphones have distinct coverage patterns. Omnidirectional (Spherical), Cardioid (Semi-spherical), Toroid (Donut Shaped), and Figure 8 (well duh) are a few of the patterns with some variations of each of these as well.

Now if you’re using something like a Shure MX920, with an array of mic elements and configurable patterns, you’ll have a lot of options to adjust the coverage post-install. However, for jobs without the need or budget for a microphone like this, knowing the 3D shapes of these patterns can help with placement for optimal audio quality. For example, a cardioid microphone with a semispherical pattern will cover more or less area depending on the height of the microphone.
If you have poor performance in a room, you may just need to lower the ceiling microphones as opposed to replacing them, and of course, modeling the coverage upfront could eliminate the change altogether.
At the end of the day, better designer means producing better outcomes produce happier customers. Going back to eighth-grade math and geometry, you may remember asking your teacher, “When am I ever going to use any of this stuff?” Well, here’s your chance.

More Stories Like This
Shure and Neat Partner for Better UCC Rooms
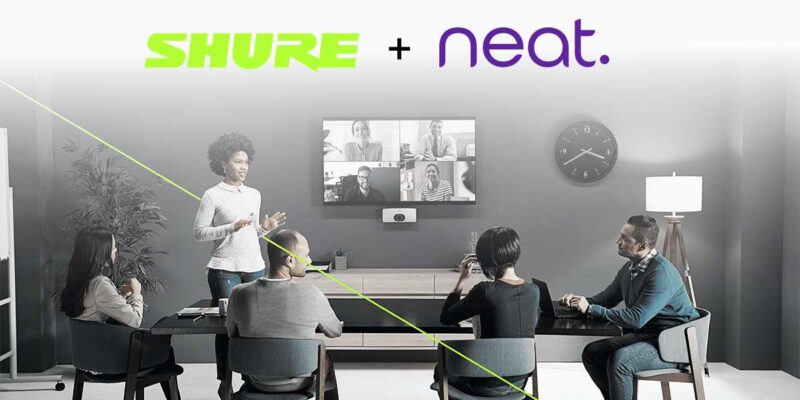
Shure and Neat announced an alliance to deliver an enhanced meeting experience in large and acoustically challenging spaces. By joining forces, Shure and Neat ensure seamless integration between Neat Bar Pro, a video meeting bar from Neat, and multiple Shure Microflex Ecosystem Solutions, providing audio and video in complex workspaces. For large boardrooms or spaces […]
Things That Stick
In higher ed, we see fads in technology and pedagogical methods on a regular basis. These may last for a few years and then adapt, or wear off completely. During the pandemic, we certainly saw our fair share of changes in order to accommodate for the craziness going on in the world. A few years […]
Professional Audio Manufacturers Alliance (PAMA) and Shure Incorporated Offer 4th annual Mark Brunner Professional Audio Scholarship
The Professional Audio Manufacturers Alliance (PAMA), in partnership with Shure Incorporated, is accepting applications for the 4th annual Mark Brunner Professional Audio Scholarship, offered to students worldwide who are pursuing an education in professional audio. Brunner, a long-time Shure executive, PAMA founding member, and leading voice in the audio community who passed away in 2020, […]